Tuesday, March 27, 2012

Hero Asset: The Temple Guardian

Here's the process I went through in creating the Temple Guardian, informally known as Sherlock after watching several episodes of the BBC show dubbed the same name. :'D

The initial I had for Sherlock was a monster plant that had a decoy to lure it's prey. It essentially had two bodies, one immobile that was rooted to the ground that acted as the lure, and the main body that sprouted out of the lower body.

Explored various types of heads for the main body. Two of my main references were deepsea fish and kabuto beetles.

This was the final turnaround and silhouette test for Sherlock.
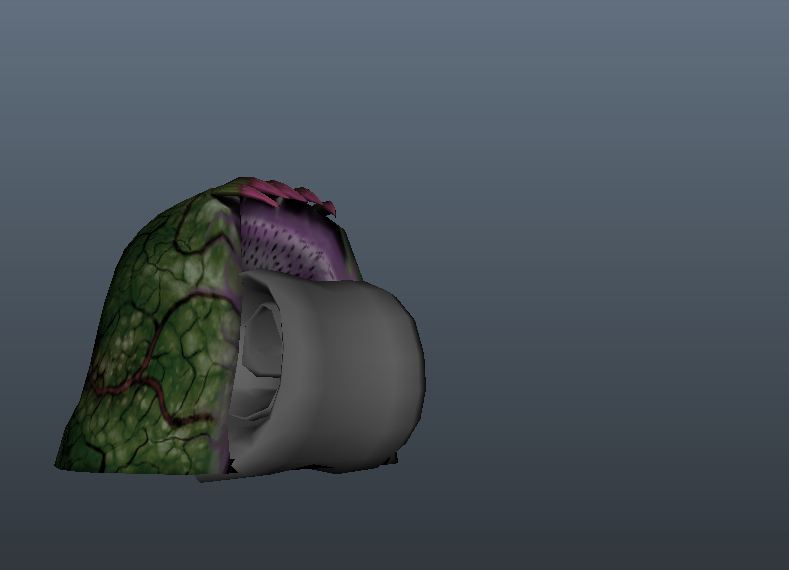
Some modeling WIP:


Then I came across a pretty big problem. As I was modeling the lower body, I realized that the decoy's design looked too intimidating, thus driving anything that would've been lured away. After receiving crits from colleagues and faculty, it was set in stone that I had to go back and fix the head of Sherlock's lower body.

Referring back to the pencil sketches above, I did some more exploration of some cuter decoy heads. I ended up going with a simple flower head with no lure.

Coming up with a cohesive color scheme was also another challenge I ran into when I made the adjustments to the lower body. The third iteration in the image above was the concept I ended up using. Here's the cool reference that inspired the color scheme:

(Huernia piersii)

And here is the final model with all its textures:
- Amanda

More Tileable Textures

I created some more hand-painted tileable textures for the temple space: brick, tile, and rock.


Here they are in action!


- Erica

Mother Plant Progress

The mother plant started out as a really rough sketch, to an even more rough model that was just used a place holder, and into another sketch.


And then evolved into a rough model.


I started getting some textures on there.


From there, I did different iterations to see if the silhouette read better, but ended up using the original concept.


Here's a final view in the level!


It's petals move slightly in the wind to give it a more lively feeling.

- Erica

Wednesday, October 26, 2011

Slursnap Animation

Did a rough animation for the Slursnap, hopefully it just needs a few touch ups in order for it to be final. Here are some frames of the action:


Monday, October 24, 2011

Slursnap Textures

To start the texturing phase off, I wanted to test which program would be best to paint textures onto the models. I tried Photoshop but it wasn't working as well as I thought it would, so I ended up using polypaint in Zbrush. I started with the Slursnap:


Then after hours of exporting UVs, painting in Photoshop, creating the shader in UDK, and tweaking the texture maps in Photoshop over again several times, the final texture turned out to look like this:


I removed the tongue for now because the model itself needed fixing (needs more geometry for the bumpiness of the pebbles).


Hand Painted Textures - Terrain

We're starting on the texturing process part now, so here's a first pass on some terrain textures I did in Photoshop.


- Erica